Best Practices For Mobile Device Testing

Photo by freestocks on Unsplash
Mobile testing is done to confirm that all of its features, including its hardware and other software components, are functioning effectively. Technically speaking, it is called the mobile device quality check, which ensures that the software and hardware comply with the actual customer's needs. In testing, we test out all the hardware and software components.
Types of Mobile Device Testing
Testing of mobile devices varies from business to business. However, these are the kinds of tests usually involved in device testing.
Unit Testing
There are a couple of components a mobile device has, such as the display, charging port, vibration motor, both front and back camera. In unit testing, every component of the mobile device gets separately tested. If a faulty component is installed in the mobile phone, it becomes very costly to get the phone back to the production line to change a single component. Thus, each component gets tested separately before getting installed in the device. This includes testing whether the display is working correctly and whether the camera is behaving correctly.
Factory Testing
After the components get installed in the mobile device, the device gets tested again to find out whether all the components are working properly or not. This is done because there might be some defect in the components that get introduced during the manufacturing or assembling of the hardware. So there are various ways by which these devices get tested.
Some types are related to factory testing:
Hardware testing: In this testing, various components of the hardware get tested, like the power button, display of the mobile phone, camera, sim card slot, etc. If there are any defects, the device is sent back to production to change those components.
Signal receiving testing: Signal receiving tests are performed to check whether all the network access points, such as the 3G, 4G, and Wi-Fi, are working properly and are receiving good amounts of signal. This is the most important component of a mobile phone. If the phone is not able to receive any signal, calling the internet and other components will not work. It also tests to check how much signal is being received by the mobile phone.
Battery charging testing: This testing is performed to verify whether the phone battery is charging correctly or if there is a defect in the charging capability.
Reliability testing: Devices get tested against extreme heat and are thrown on the floor to find out how reliable they are. This is done as users might use them in extreme weather conditions or accidentally drop their phones. Therefore, it is necessary to test out the reliability of the mobile phone.
Certification Testing
This type of testing determines whether the device is suitable to launch in the market and doesn't adversely affect people's health. Devices that are potential health hazards cannot be launched because they could injure people, expose the company to lawsuits, ruin the company's image, and cost a lot to recall. Therefore, it is crucial to ensure that comprehensive certification testing is done.
Functional Testing Performed on Devices
software testing that is carried out keeping in mind the functional requirements of the product. Given below are two types of functional testing.
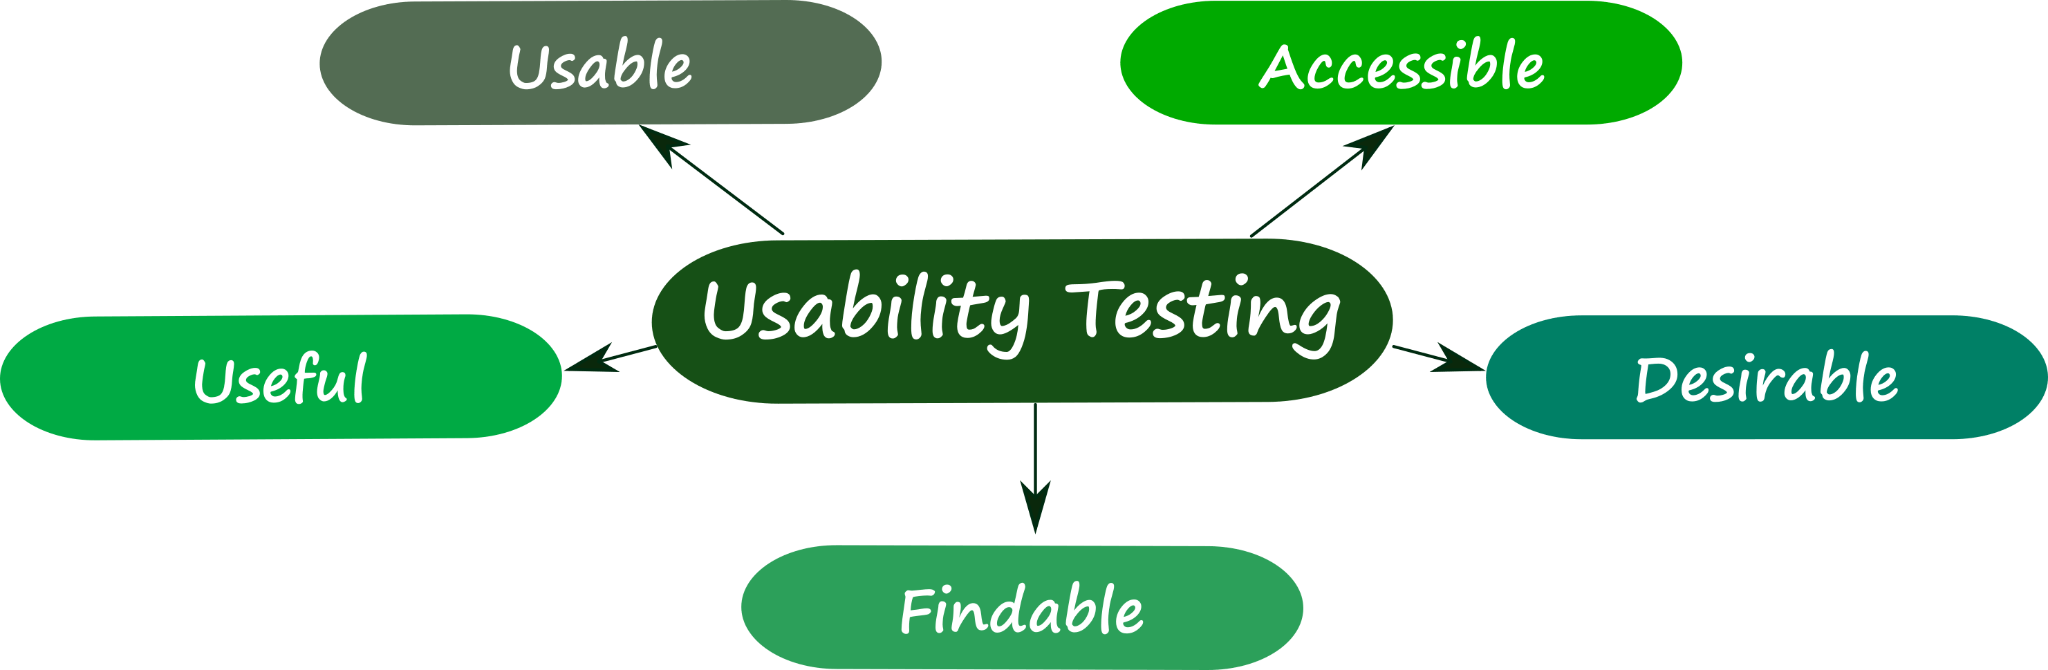
Usability Testing
The ease of using a device is determined through usability testing. The device gets tested from the user's perspective. The camera is used to take selfies, landscape images, and other photos that a user is likely to click so that the camera quality can be tested. Other things like the call quality, the quality of the speaker and microphone, are also tested from a user's perspective. This is done so that the user doesn't have any problem using the device.
Static Code Analysis
Static code analysis is done when the mobile manufacturers have themselves developed part of the operating system. Nowadays, almost every mobile device uses Android OS, such as MIUI, Oxygen OS, etc. They actually modify some of the open source code to integrate some of their specific features, such as AI camera and other components. These apps need to be tested to ensure that they are properly integrated and functioning. Sometimes, the software may have some defects, which can cause problems like all the images getting blurred when taken with that feature.
Conclusion
There are a lot of different testing approaches that are followed by companies apart from functional testing. They do have their own testing methods, which they use to perform various types of tests. These tests are performed to test out the quality of the software being installed in the phone and the hardware being used to make the phone. This is done so that the end-user doesn't have any problem, as these errors are directly connected to the company's reputation. A bad device results in a user deciding not to buy another device from the same company. Thus these tests are very necessary for the growth of the company.